Frontend Installation Process
- Open the folder first.
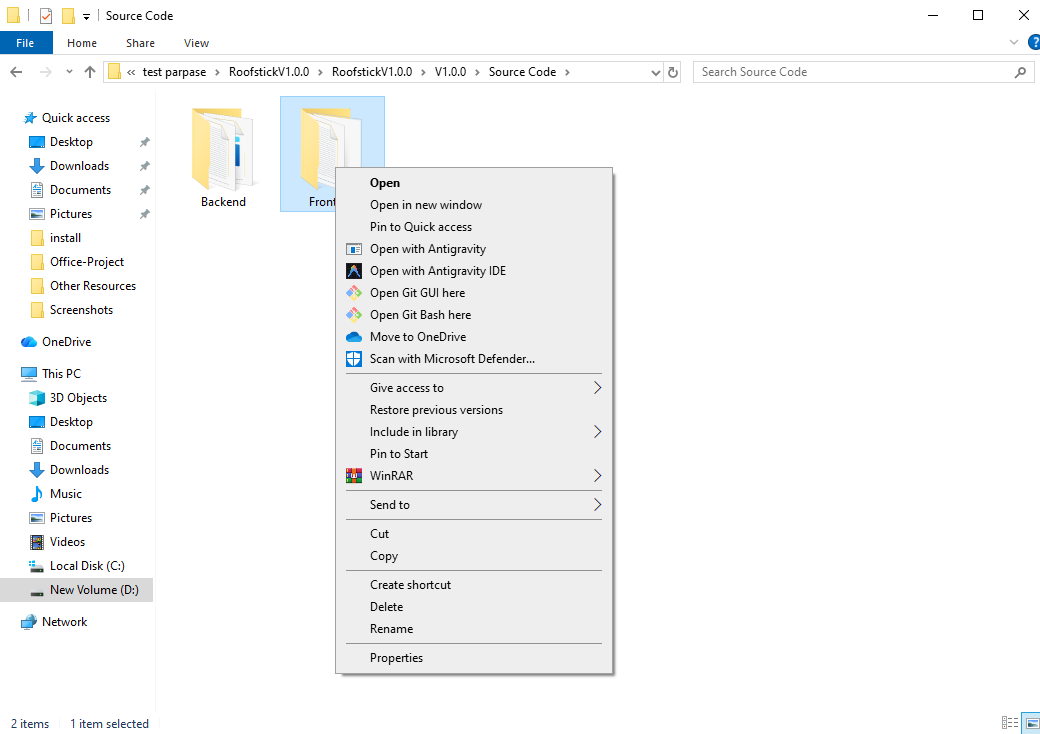
- Next, locate the
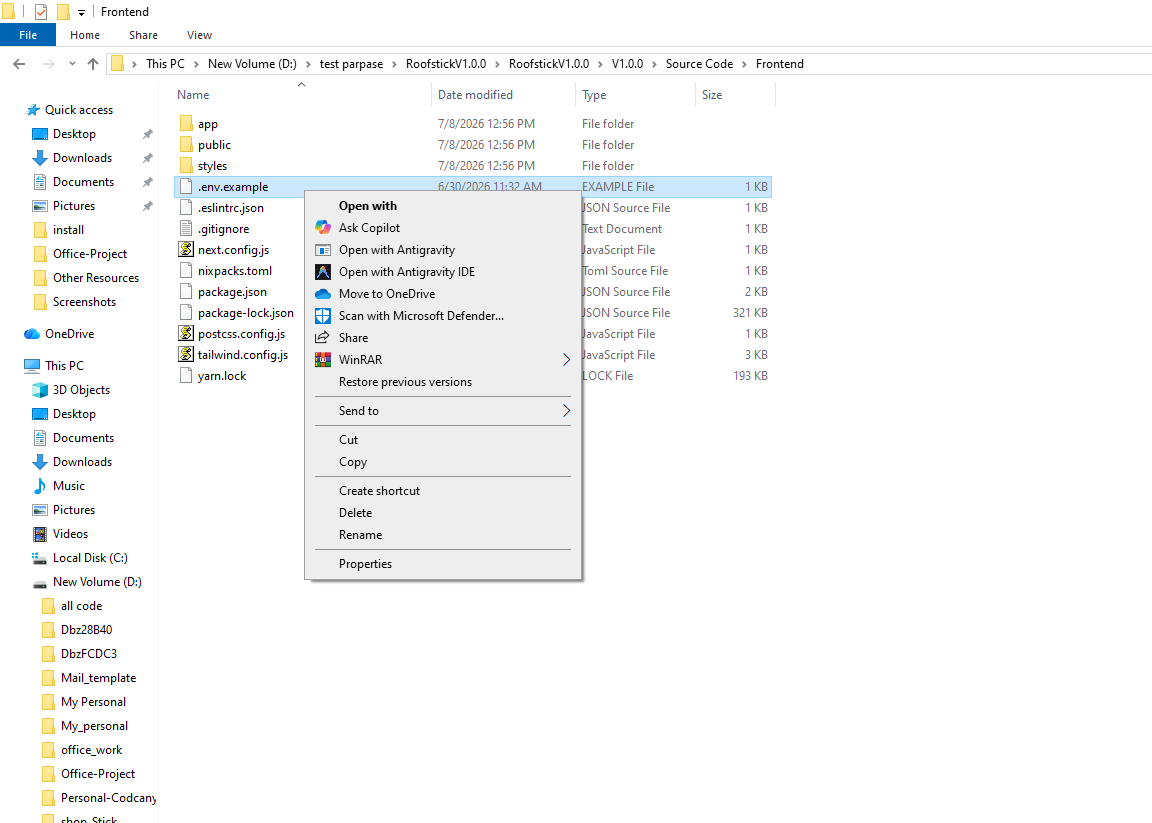
.env.examplefile in your project directory. This file serves as a template for your environment variables. - You need to create a new file named
.envin the same directory. Copy all the contents from.env.exampleinto your new.envfile.
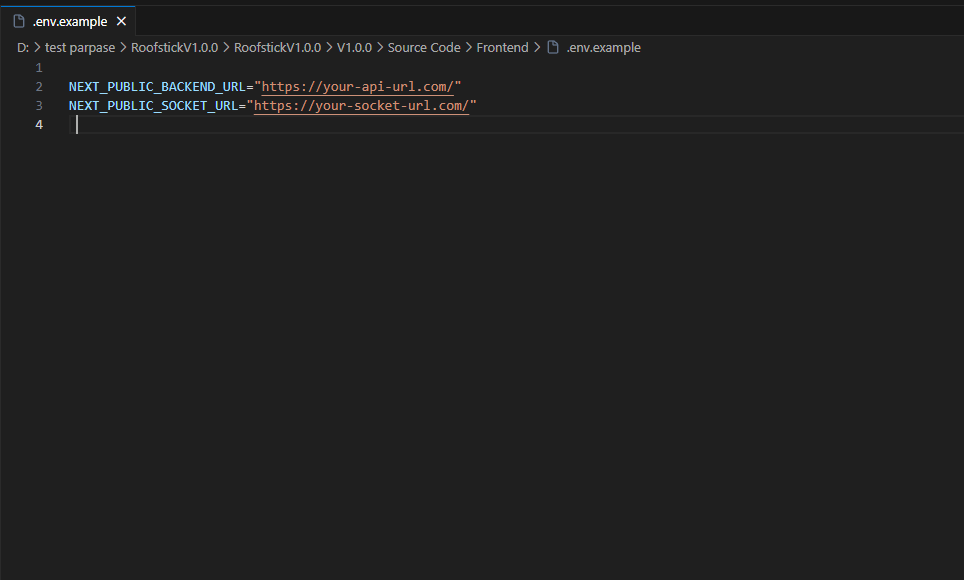
- Open the
.envfile in your preferred text editor. You will need to update the backend connection URL. - Replace the example URL with your actual backend server link (this can be a live domain, sub-domain, or a local link if testing locally), as shown in the image below. Save the file once you've added your URL.
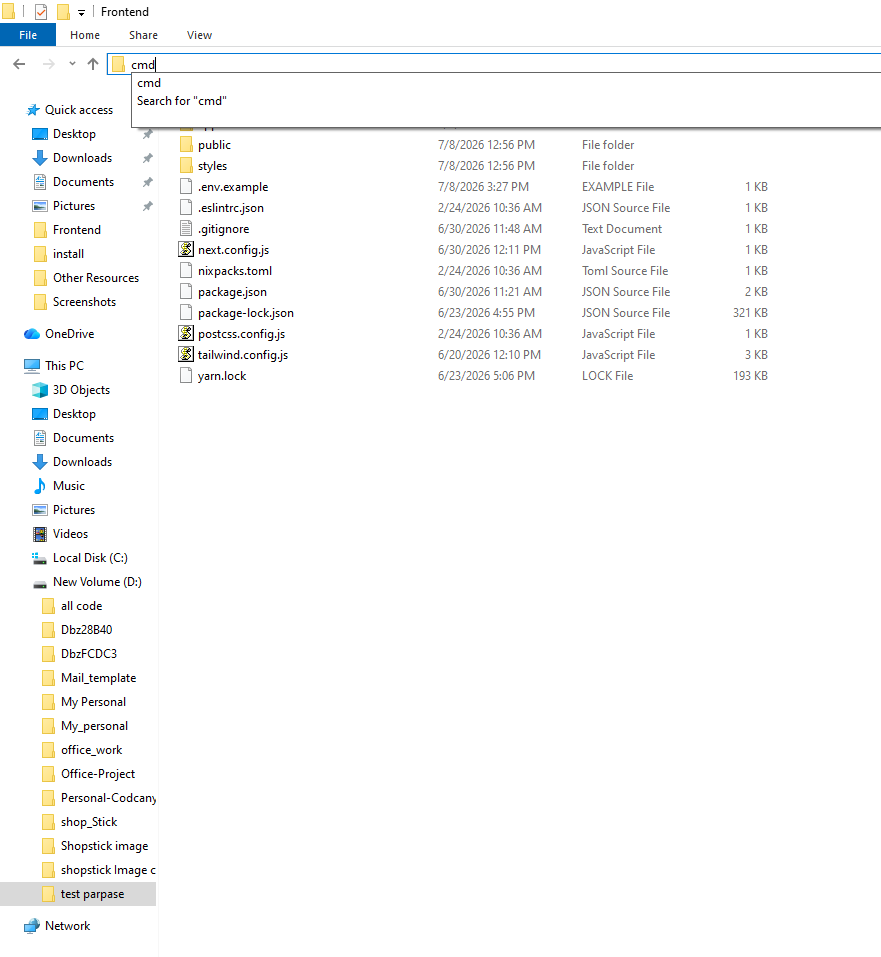
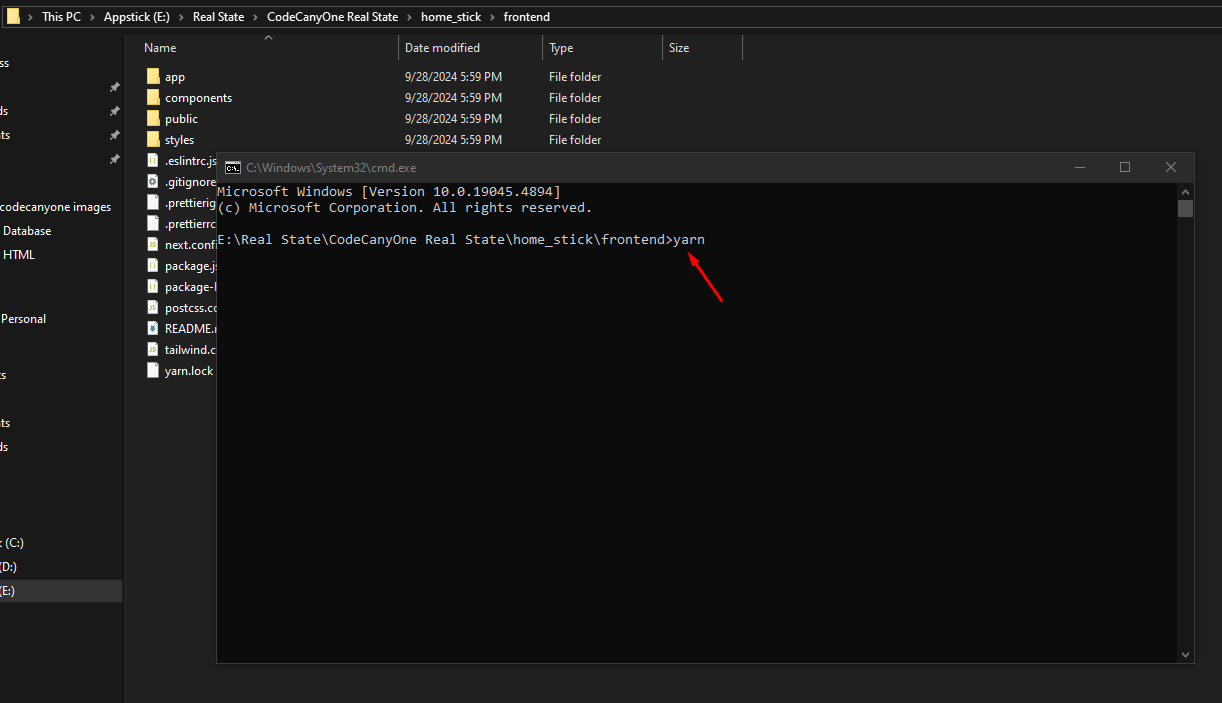
- Then you need to open your terminal or command prompt (mac and linux user) or windows user you have to follow the picture. Select the address bar and type cmd
- Then the command prompt open. Type
yarnand hit enter
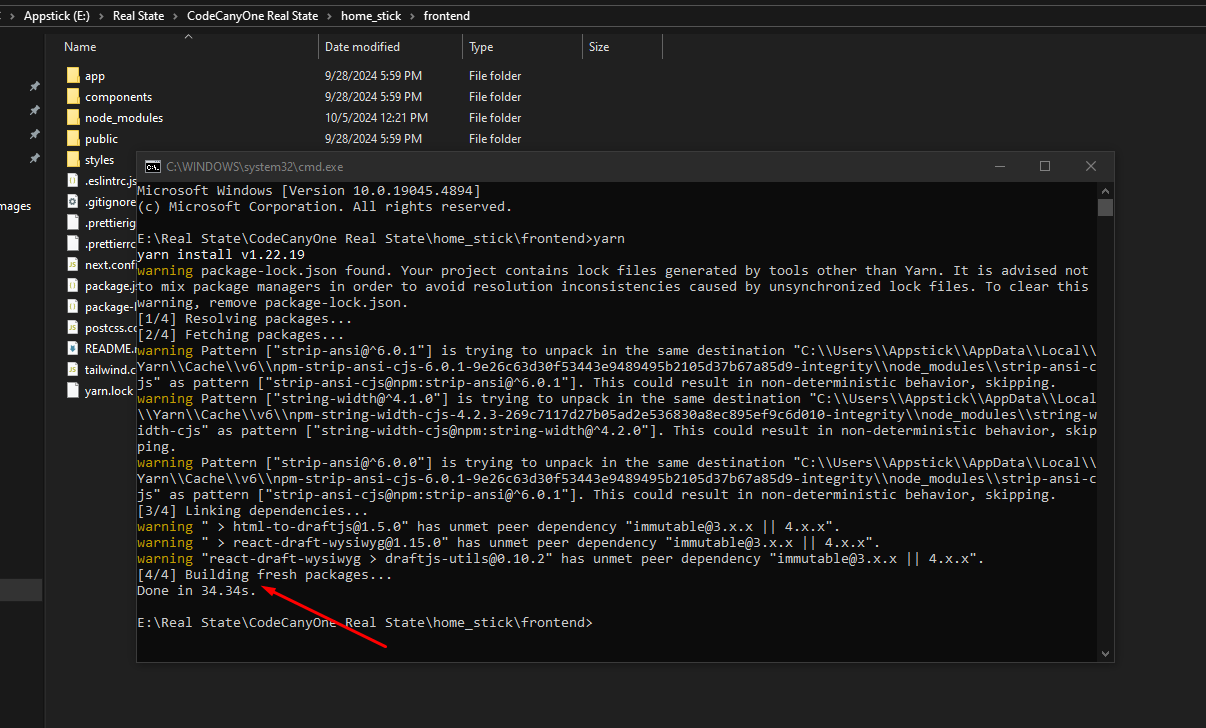
- After Successfully yarn install, you need to type
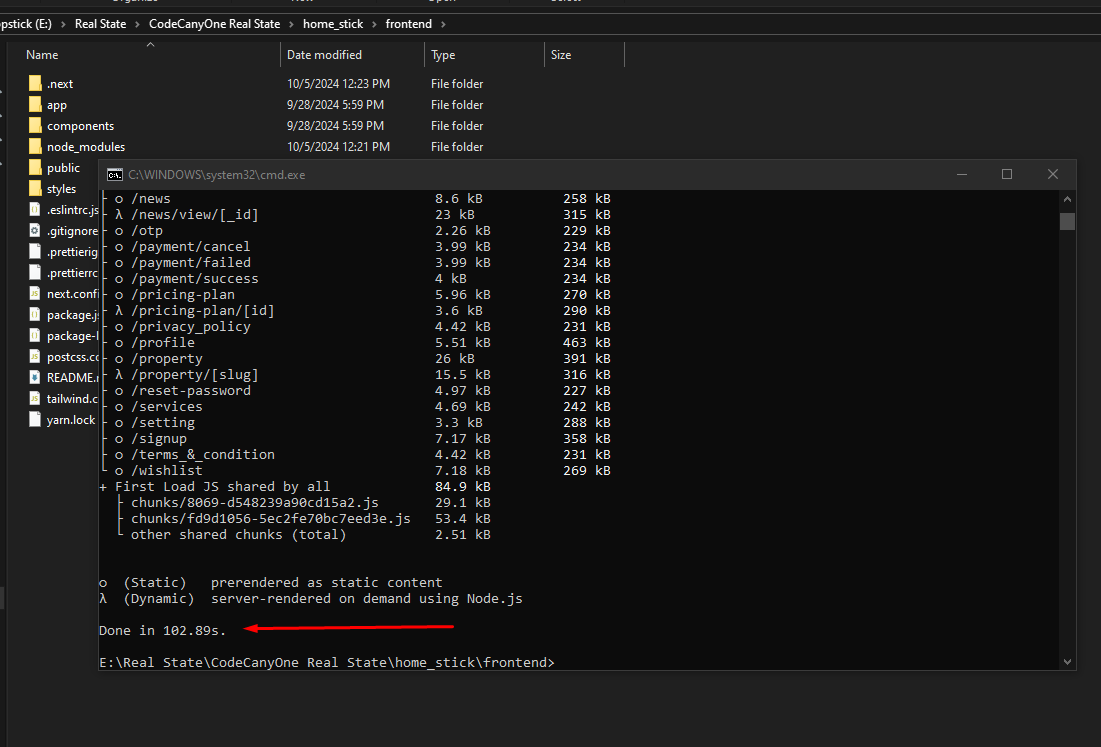
yarn buildand hit enter
- Now you can see the build was successful.
- Because this is a Next.js SSR application, you need to zip the entire frontend project folder (or push it via Git) and upload it to your server. Do not just upload a static folder.
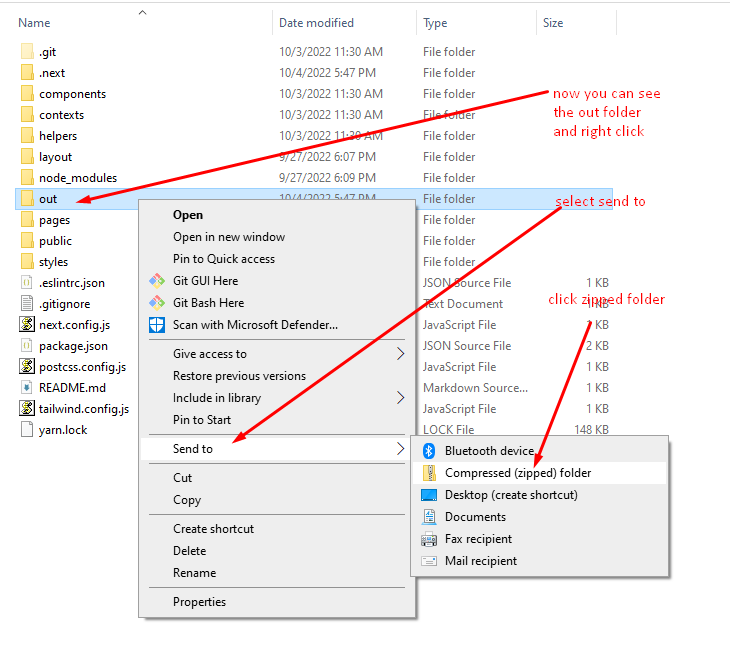
- Then you go to your server panel or cPanel, Select your Document Root, and extract the files.
Now you need to deploy the frontend as a Node Project. Follow the exact same backend installation process from Step 4 - Step 10, but applied to the frontend folder.
Note:
In Step 7, select the port as 3999 (or the port defined in your frontend package.json start script). Also, in the domain name section, please confirm that it will be the root domain (Not a subdomain) for the frontend. For example, your_main_domain.com
After successful completion of all the processes, your website will go live, visit your domain url, for example your_main_domain.com